Step one: wait for safe access and understand restrictions
After a fire, the first step is not cleaning; it is understanding whether anyone may safely enter the property. Call 911 for an active fire or immediate danger, and follow directions from emergency officials. Permission to enter a building does not necessarily mean every room or utility is safe to use. Heat, smoke, firefighting water, and damaged structural components can create hazards that are not obvious from a doorway. Keep children and pets away until access restrictions have been clearly explained.
Do not restore electrical service, operate damaged appliances, or turn utilities back on yourself. Qualified professionals should evaluate affected systems. Avoid moving debris or testing a ceiling that appears unstable. If you need essential belongings, explain that need to the officials or professionals controlling access rather than entering on your own. Once access is permitted, ask which routes are usable and whether any areas remain restricted. Those boundaries establish the starting conditions for assessment and prevent an urgent search for possessions from becoming another emergency.
Step two: assess damage and protect the property
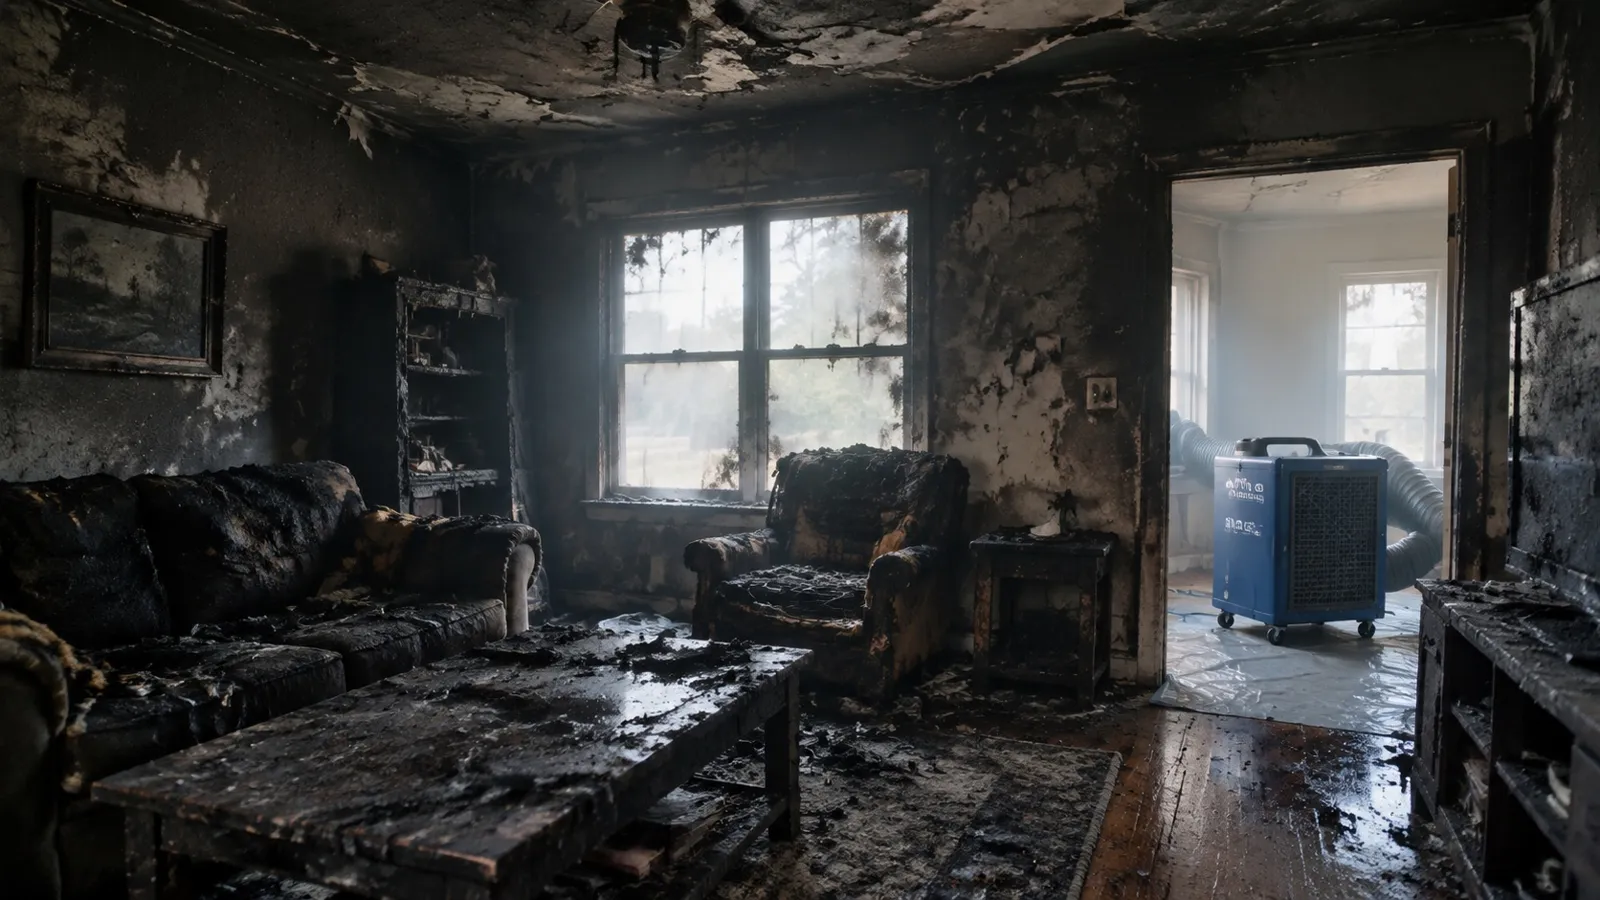
A fire assessment considers more than the area that burned. Smoke may move into adjoining rooms and enclosed spaces, while water used during firefighting can affect flooring, walls, and lower levels. The evaluation should consider structural concerns, utilities, contents, residue patterns, and openings that expose the property to weather. Independent, licensed restoration contractors in our network perform the work. The proposed approach should reflect the actual conditions rather than assuming every surface needs the same treatment or that visible charring defines the full scope.
Temporary protection may be appropriate when windows, doors, or roofing have been damaged, but unsafe areas must be evaluated before work proceeds. Ask how affected and unaffected spaces will be separated and how belongings will be tracked if moved. Photos and written observations should document conditions from safe locations. If older building materials may contain regulated substances, appropriate evaluation may be needed before demolition. Protecting the property and understanding the damage are connected tasks: securing an opening does not replace the need to assess what happened inside.
- Identify restricted rooms, damaged utilities, and weather-exposed openings.
- Document visible fire, smoke, and water effects without disturbing unstable materials.
- Clarify how belongings, access, and temporary protective work will be managed.
Step three: address water and remove unsuitable materials
Firefighting water can create a second restoration need even where flames did not reach. Standing water, wet insulation, and moisture trapped beneath finishes require assessment before repairs conceal them. Water removal and controlled drying may need to occur alongside other protective work. The team responsible for the project should explain how electrical safety, structural access, and contamination affect the sequence. A room that smells smoky may also have a moisture problem, so the plan should not focus on odor while overlooking wet assemblies.
Some materials may be too damaged, contaminated, or inaccessible for effective restoration. Removal decisions should be explained through observed conditions and the intended repair plan. Ask what can be evaluated for cleaning, what must be removed, and how those decisions will be recorded. Avoid discarding belongings yourself before they can be safely documented and assessed. Handling soot-covered or water-damaged items without guidance can spread residue into cleaner spaces. The objective is a workable, documented scope, not indiscriminate demolition or an assumption that everything can be saved.
Step four: clean smoke residues and evaluate belongings
Smoke residues vary with the materials involved and the conditions of the fire. A cleaning method suitable for one surface may smear residue or damage another. Avoid wiping walls, using household sprays on soot, or running a household vacuum over deposits. Professional evaluation should identify appropriate methods for affected surfaces and contents. Testing a limited area may help determine whether a material responds to cleaning, but a successful test in one location does not establish that every item has the same condition.
Contents need their own handling decisions. Upholstery, electronics, documents, clothing, and hard-surface items present different concerns, and some may require specialist evaluation. Keep an inventory of items moved for cleaning or storage and ask how their condition and destination are recorded. Do not consume food, medication, or other products exposed to heat, smoke, or firefighting water without appropriate guidance from the relevant qualified source. The restoration process should make uncertainty visible rather than labeling possessions safe based only on whether they still look recognizable.
Step five: address odor sources before rebuilding
A lingering smoke odor can indicate remaining residues or affected porous materials. Fragrance alone does not address those sources, and painting over an unprepared surface is not a substitute for assessment and cleaning. Odor work should fit the materials and conditions involved, with clear instructions about access and occupancy during any treatment. Ask what the treatment is intended to accomplish, whether belongings need to be removed, and how the result will be evaluated before repair materials cover the affected area.
Heating and cooling systems may need evaluation if smoke or debris could have entered them. Do not assume that changing a filter resolves contamination throughout a system, or that every system automatically requires the same service. The relevant qualified professional should assess the circumstances. Before reconstruction begins, confirm that necessary cleaning and drying tasks have been addressed and remaining concerns are documented. This review helps avoid treating new drywall, paint, or flooring as a way to hide unresolved damage rather than as the final stage of a properly prepared repair.
Step six: authorize repairs and review the handoff
Reconstruction may include framing repairs, electrical work, insulation, wall finishes, flooring, and cabinetry, depending on the damage. Ask for a written scope that distinguishes necessary repairs from optional changes you request. Product availability, permits, inspections, and trade coordination can affect the schedule. A project manager from our network works directly with the insurance company and handles documentation and billing. The insurer determines coverage; you decide what work to authorize and remain responsible for your deductible and non-covered work.
Before the project is handed back, review the completed scope, any remaining restrictions, and instructions for new materials or equipment. Keep photographs, authorizations, invoices, and relevant inspection records together. Raise unresolved concerns while the work can still be discussed in context, rather than assuming an odor or stain is simply part of living after a fire. To connect with a project manager from our network, call (908) 585-3686, available 24/7. Scheduling depends on the property and contractor availability; no phone conversation can establish safe occupancy without appropriate evaluation of the actual conditions.